初始化之前
背景
我不是phper,所以本地也没有php环境,此次尝试部署,是为了学习用Docker --link 编排LNMP, 之前用docker都是单独的使用,并没有用过容器间的通信。
BBBUg技术参考
因为某些原因,部署流程已经没了,只能通过一些手段+极少现成资料作为部署文档。
以下为部署时候的参考资料
官方项目地址:
api:
https://github.com/HammCn/BBBUG-API
web:
https://github.com/HammCn/BBBUG_Frontend
第三方部署教程:
https://blog.fxnws.com/blue/101.html
部署历史快照:
简略版:
https://web.archive.org/web/20210518150755/https://doc.bbbug.com/3097468.html
略详细版:
https://web.archive.org/web/20210623091247/https://doc.bbbug.com/4059335.html
初始化
准备环境
虚拟机
centos7.6 2核2G128G (我喜欢用centos, 但是建议debian,因为容器里面好多都是debian,具体配置自己调整,建议内存1G以上)
ssh 工具
自己喜欢的顺手的即可
初始化ing-虚拟机
换源(非必要)

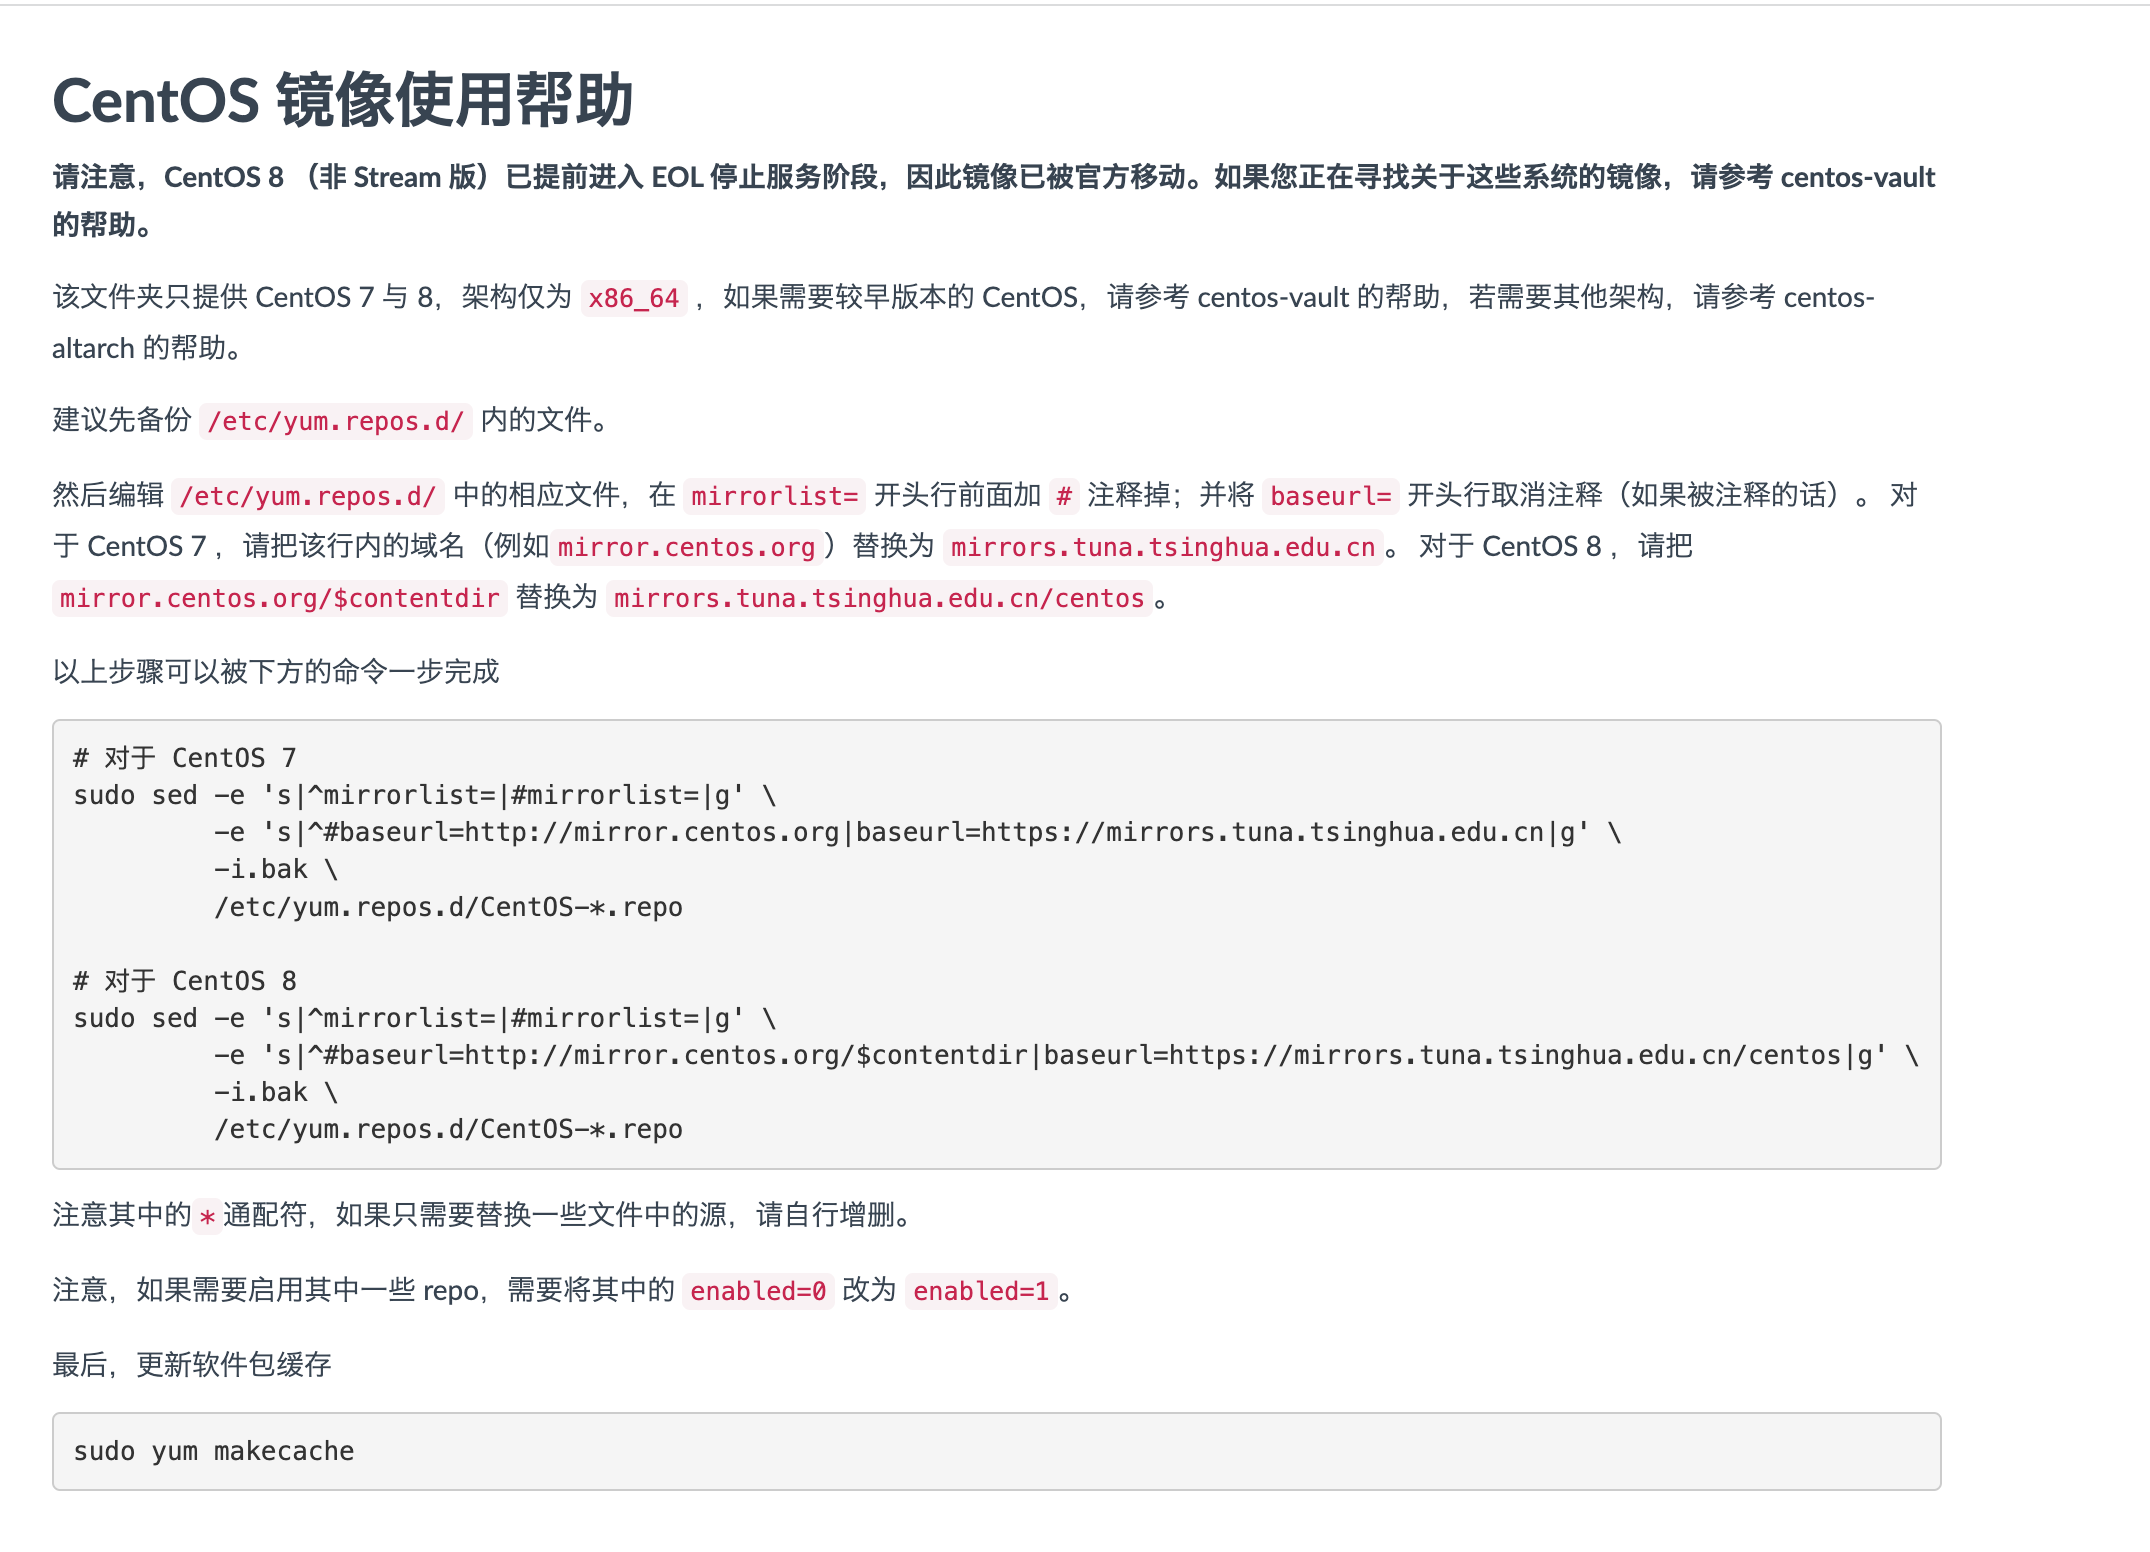
搜索你用的系统名称+清华源, 就能出来清华源的官方换源教程
安装基础软件
yum install wget vim git docker -y

# 临时性关闭selinux
setenforce 0

# docker开机自启, 非必要
systemctl enable docker

# 启动docker
systemctl start docker
pull代码
# 创建bbbug,用于docker 文件映射,方便编辑文档
mkdir /root/bbbug
cd /root/bbbug

#拉取api代码
git clone https://github.com/HammCn/BBBUG-API.git

# 拉去前端代码
git clone https://github.com/HammCn/BBBUG_Frontend.git
Docker 之旅开始了
国内源
编辑 /etc/docker/daemon.json (没有就创建), 内容为
{
 "registry-mirrors" : [
   "https://mirror.ccs.tencentyun.com",
   "http://registry.docker-cn.com",
   "http://docker.mirrors.ustc.edu.cn",
   "http://hub-mirror.c.163.com"
 ]
}
重启docker
systemctl daemon-reload
systemctl restart docker
安装官方文档要求,环境为mysql5.6 + php7.3, redis, nginx版本我随意了。
mysql
docker pull mysql:5.6

docker run -id -p 3307:3306 -e MYSQL_ROOT_PASSWORD=QWE123# --name mysql mysql:5.6
设置密码、容器3306端口映射虚拟机3307端口。
redis
docker pull redis

docker run -id --name redis -p 6379:6379 redis --requirepass "Qwe123@"
php
docker pull php:7.2-fpm
docker run -id -v /root/bbbug/BBBUG-API:/var/www/html/api -v /root/bbbug/BBBUG_Frontend:/var/www/html/web -p 9000:9000 -p 9001:9001 --link mysql:mysql  --link redis:redis --name php php:7.2-fpm
/root/bbbug,里面是api以及web的源码,映射到容器内,方便编辑
9000端口为php web服务端口,
9001预计为websocket端口,(建议用官方的10011端口!!!!)
–link, 把mysql, redis连接到php中,–link 冒号前面为容器名称,后面为link链接的别名。
php容器操作
docker exec -it php bash
换源以及安装必要软件
echo deb https://mirrors.tuna.tsinghua.edu.cn/debian/ buster main contrib non-free > /etc/apt/sources.list
echo deb https://mirrors.tuna.tsinghua.edu.cn/debian/ buster-updates main contrib non-free >> /etc/apt/sources.list
echo deb https://mirrors.tuna.tsinghua.edu.cn/debian/ buster-backports main contrib non-free >> /etc/apt/sources.list
echo deb https://mirrors.tuna.tsinghua.edu.cn/debian-security buster/updates main contrib non-free >> /etc/apt/sources.list
apt update
apt install -y libwebp-dev libjpeg-dev libpng-dev libfreetype6-dev unzip wget vim
安装node
为了编译前端代码,也可以送yarn编译,我用npm,自己拿捏就行
apt install nodejs npm -y

npm install nodejs-websocket
mysql驱动
docker-php-ext-install pdo_mysql
php -m
安装composer
curl -sS https://getcomposer.org/installer | php

mv composer.phar /usr/local/bin/composer
chmod -R 777 /usr/local/bin/composer
composer -v

composer config -g repo.packagist composer https://mirrors.aliyun.com/composer/
安装gd
#解压源码
docker-php-source extract

#gd源码文件夹
cd /usr/src/php/ext/gd

docker-php-ext-configure gd --with-webp-dir=/usr/include/webp --with-jpeg-dir=/usr/include --with-png-dir=/usr/include --with-freetype-dir=/usr/include/freetype2

docker-php-ext-install gd

php -m | grep gd
exit
重启容器, 并继续进入容器操作
docker restart php && docker exec -it php bash
redis驱动
pecl install redis

#php --ini 查找ini
echo extension=redis.so >> /usr/local/etc/php/conf.d/docker-php-ext-gd.ini
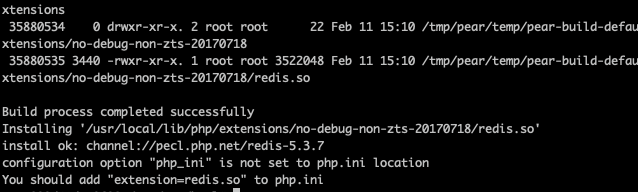
把redis.so 添加到php.ini中, 因为我用find未找到php.ini, 所以复制php.ini-development为php.ini
cd /usr/local/etc/php
cp php.ini-development php.ini
echo extension=redis.so >> php.ini

# /usr/local/sbin/php-fpm -y  /usr/local/etc/php-fpm.conf /usr/local/etc/php/php.ini
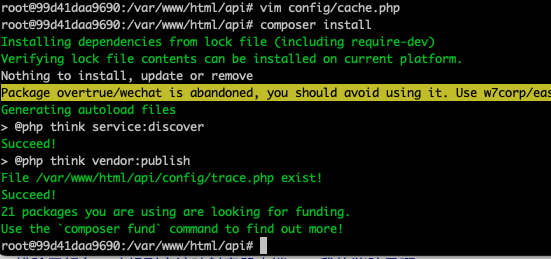
安装php的包
 cd /var/www/html/api/
 composer install
提示redis拒绝
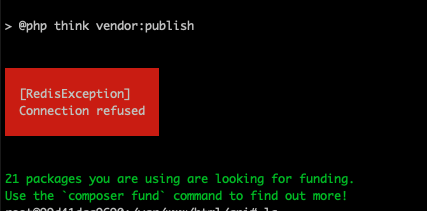
修改redis密码
vim config/cache.php

注意:
- host就写启动时候–link redis后面的名字

- 端口就写redis内的端口,不要写-p映射出来端口,我一开始在这里犯了错误,我映射了一个3678出来,导致我连不上去, 排除了好久,才想到应该映射容器内端口,我的猪脑子啊!!!
- 密码请填写redis容器设置的密码,建议设置,不设置非常不安全!我已经听闻身边小伙伴几个经历了,在公网上redis不设密码,被挂🐎挖矿的了。redis一定要做好安全防范!!!
在执行安装php包, 就行了!
修改mysql链接
mv .example.env .env
vim .env
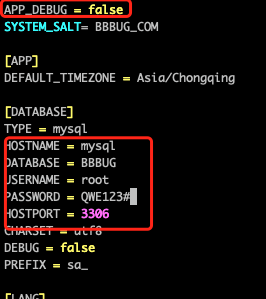
- 建议把APP_DEBUG 打开, 方便调试输出信息,可以快速定位问题。
- HOSTNAME 的写法和redis的一样, 填写mysql的link的名字
- DATABASE就是数据库名称, 我这叫BBBUG
- 用户名和密码,请安装启动mysql的时候设置填写
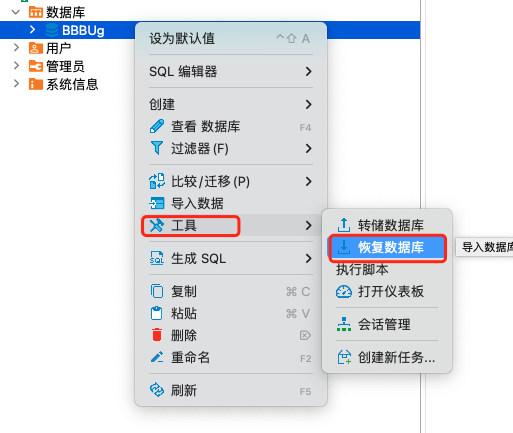
导入数据库
由于我实在是不想安装mysql客户端了,我本机也有mysql的图形化软件,我这一步就直接图形化软件搞了,我用的是这个小松鼠, 哎,我司不让用商业未付费的软件~
自己看图吧
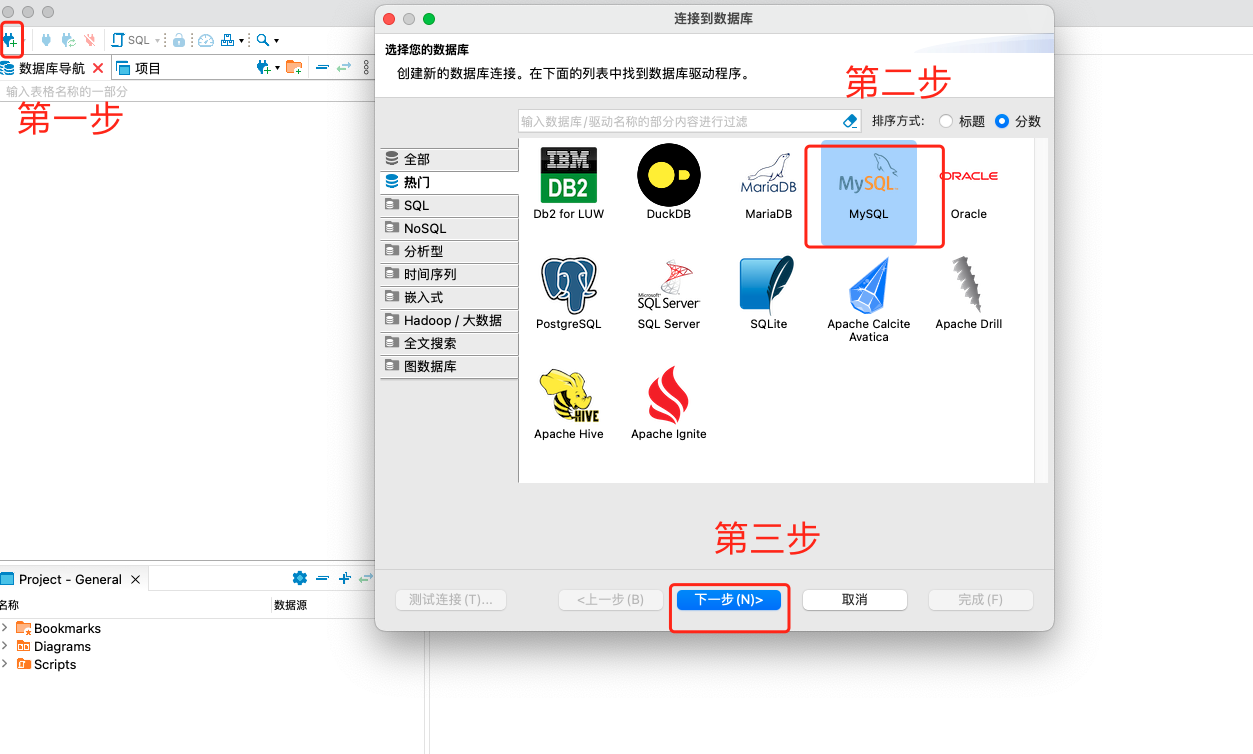
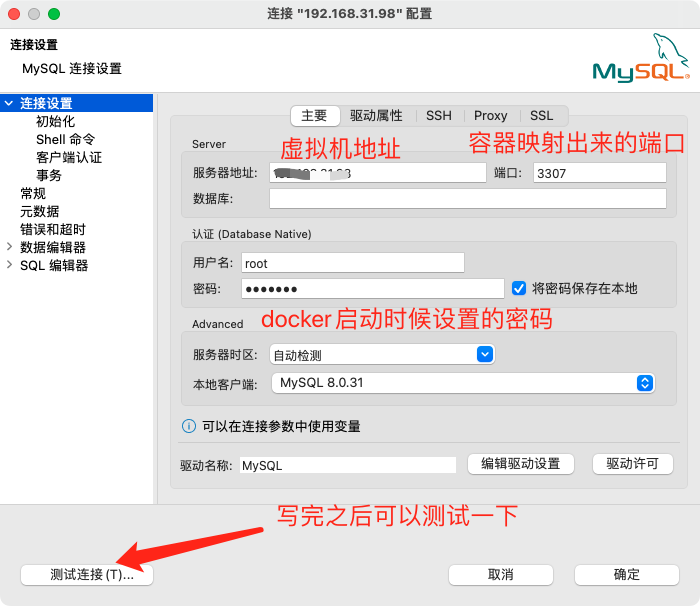
如果是第一次用,需要下载一个mysql的驱动
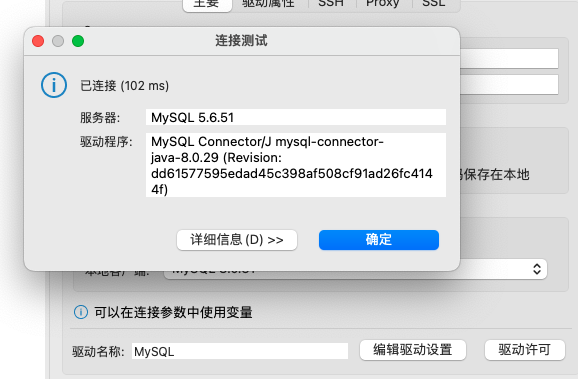
测试没问题,保存即可
新建数据库, 这里我数据库名字打错了,到后面才发现。尴尬😅
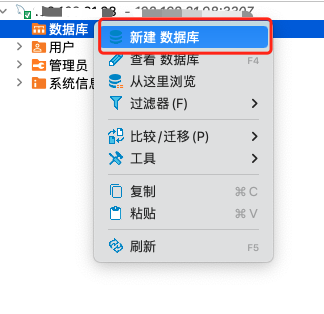
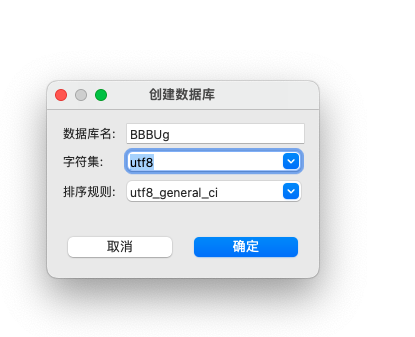
- 名称需要和代码里相对应上
- 字符集,我习惯性用UTF8
导入数据
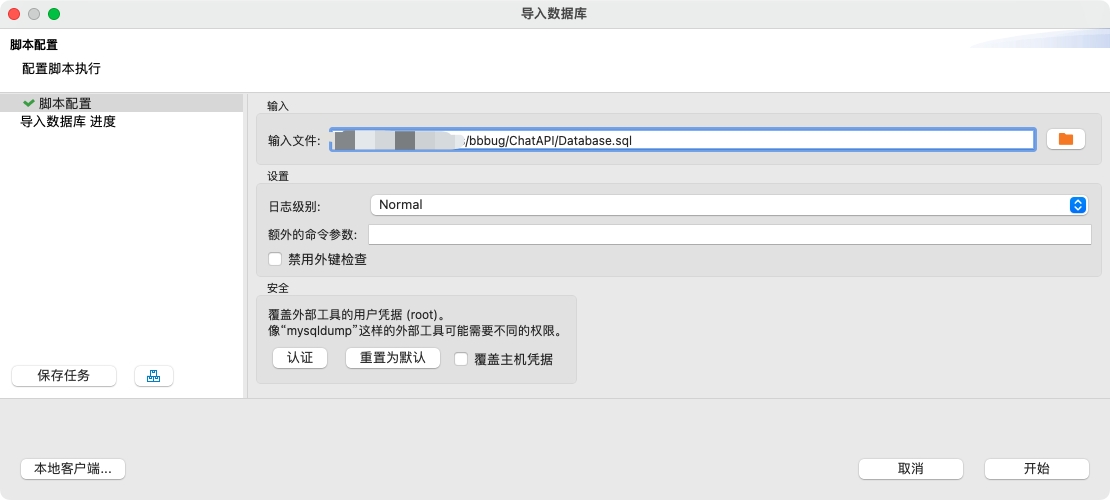
数据库在git项目里有, 叫“Database.sql”,我本地有这个项目。所以你看到这一步的时候,要骂娘了,因为你本地没有,代码在虚拟机里。😂
点击开始,就可以了。
库长这个样子

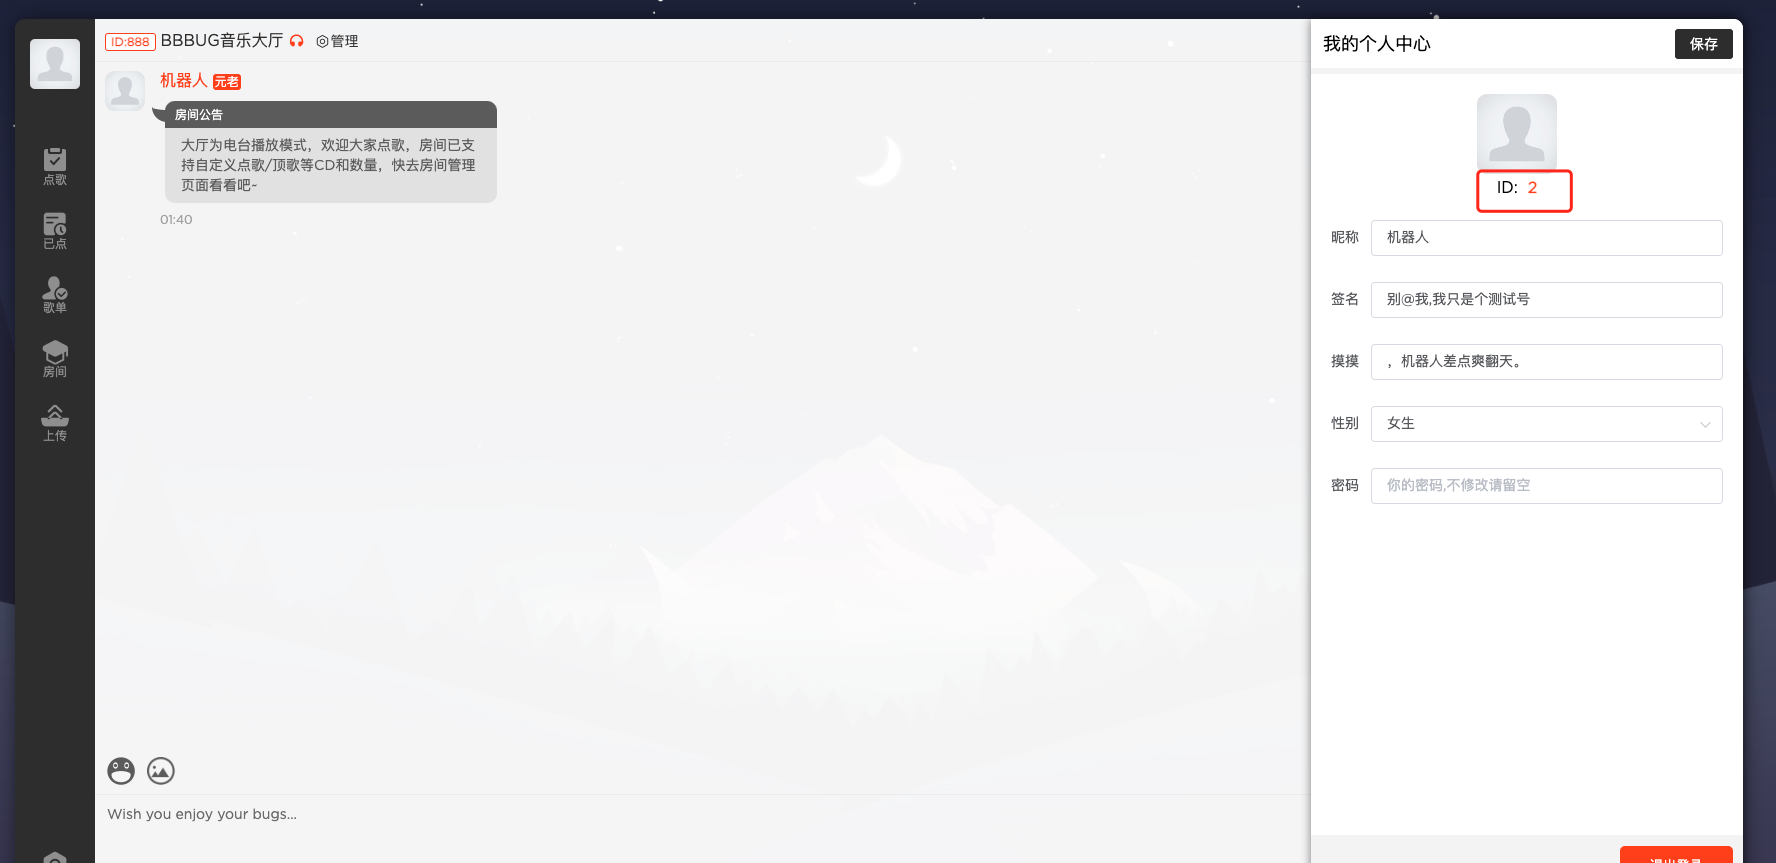
点击sa_user,并新增一条数据
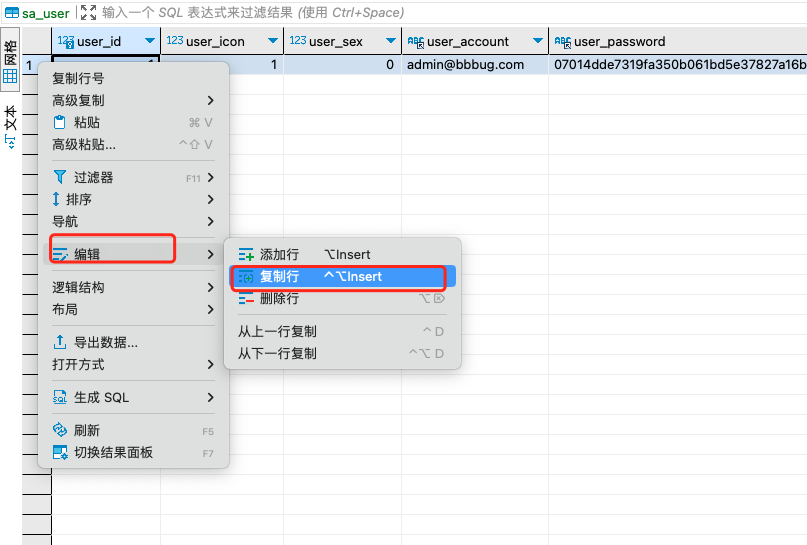

- id自增,填写个2就行
- user_account字段你自己想填写什么就填写什么
- user_password: e0b6095d0031ebb66cffcda34157c26b1c4074ec
- user_salt: qwer
- 密码的明文是123456, 盐是qwer。 我不知道[email protected]的默认密码,只能自己搞一个密码出来了。eee… 默认用户的默认密码应该是123456(我猜的)
退出容器
php到此先结束,开始玩玩nginx
nginx
mkdir /root/bbbug/conf
touch /root/bbbug/conf/default.conf
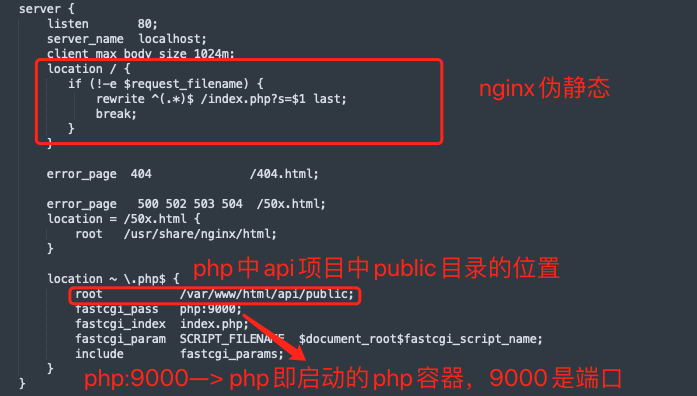
vim /root/bbbug/conf/default.conf
# default.conf代码如下
server {
listen 80;
server_name localhost;
client_max_body_size 1024m;
location / {
if (!-e $request_filename) {
rewrite ^(.*)$ /index.php?s=$1 last;
break;
}
}
error_page 404 /404.html;
error_page 500 502 503 504 /50x.html;
location = /50x.html {
root /usr/share/nginx/html;
}
location ~ \.php$ {
root /var/www/html/api/public;
fastcgi_pass php:9000;
fastcgi_index index.php;
fastcgi_param SCRIPT_FILENAME $document_root$fastcgi_script_name;
include fastcgi_params;
}
}
docker pull nginx:1.10.3
docker run -d -p 8848:80 -v /root/bbbug/conf:/etc/nginx/conf.d --link php:php --name nginx nginx:1.10.3
启动之后,浏览器打开"虚拟机IP:8848"
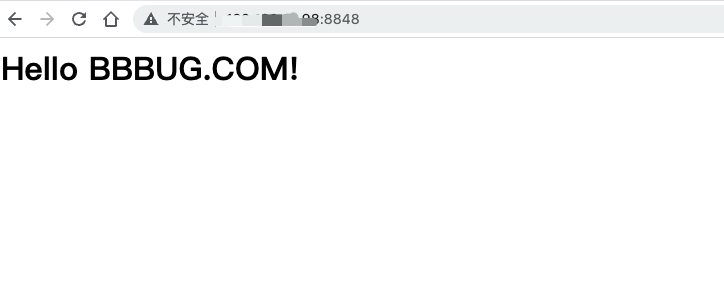
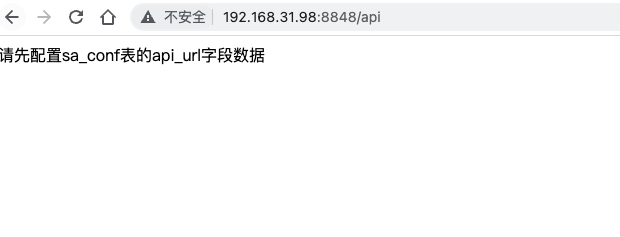
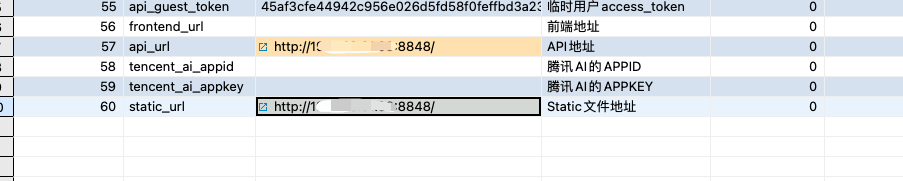
配置conf表
再次访问/api

本地nginx
yum install -y epel-release
yum -y update
yum install -y nginx

systemctl enable nginx
systemctl start nginx
# 先关闭防火墙,后续需要放行80即可
systemctl stop firewalld

vim /etc/nginx/nginx.conf
# 代码如下
location / {
        root  /web/;
        try_files $uri $uri/ /index.html;
        index index.html;
}
location /bbbug_api/ {
        proxy_pass http://127.0.0.1:8848/;
}
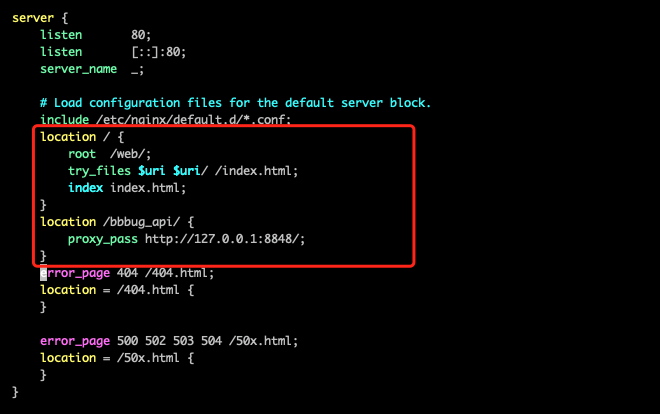
- /路径指向本地/web
- /bbbug_api指向本地的8848端口,即php api, 避免同源问题
验证一下nginx配置文件是否正确

nginx 重新加载配置已经启动
nginx -s reload
前端代码
docker exec -it php bash
cd web/
# 安装npm包,第一次需要,后续可以省略了
npm install
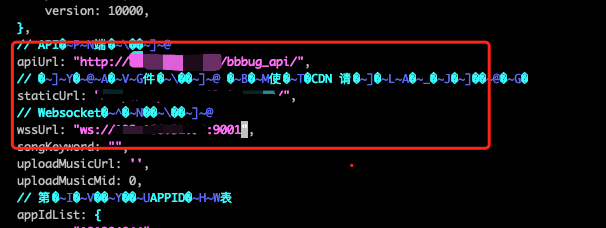
vim src/main.js
# 修改apiURL、staticURL、wssURL
# apiURL、staticURL, 对应nginx中的bbbug_api
# wssURL, 对应nginx中的php容器的9001websocket服务
编译文件
npm run build
会生成一个dist文件夹

退出容器,因为文件是映射的,dist在虚拟机中的位置: /root/bbbug/BBBUG_Frontend/dist
移动到nginx web指定的路径
mv /root/bbbug/BBBUG_Frontend/dist /web
问题
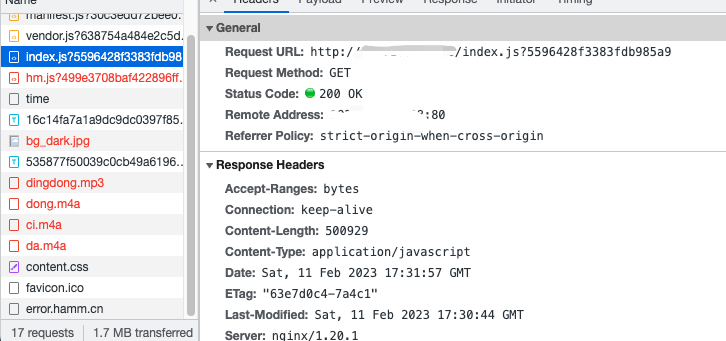
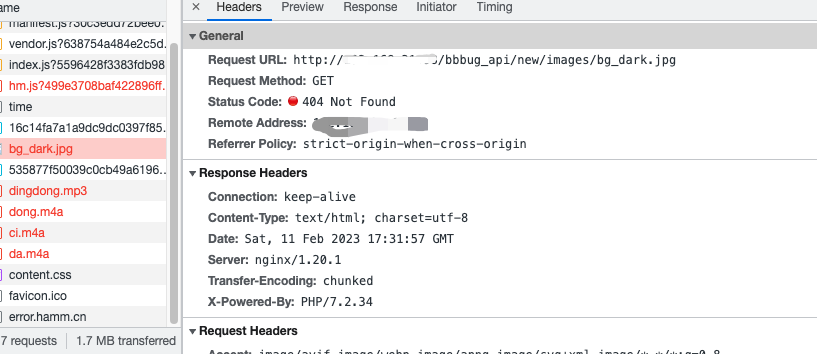
静态资源无法加载!!!!!!
我到现在也没明白,谁叫我不是phper呢。
我的暂时解决方法就是把静态资源文件传到了CDN上面。
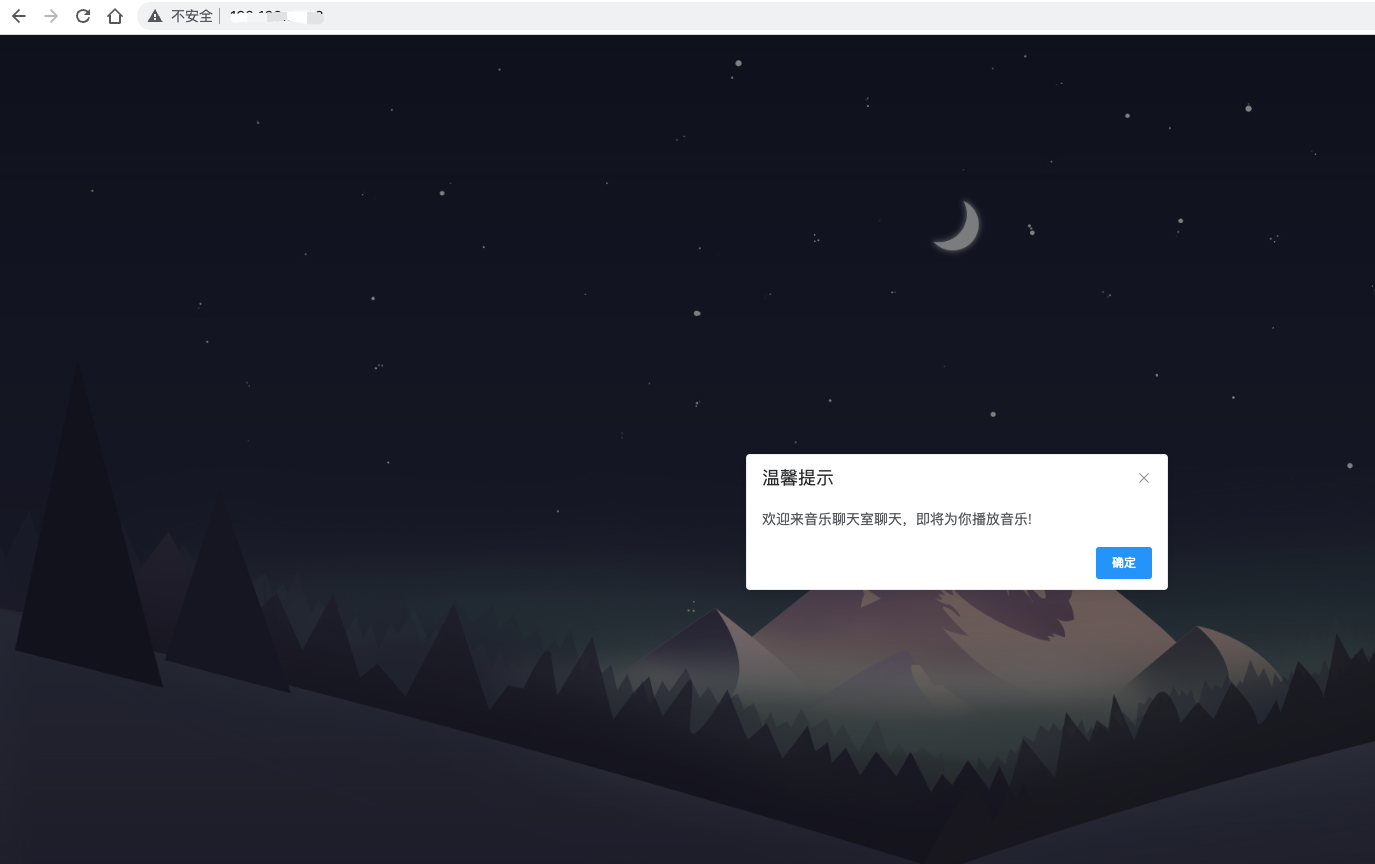
web搞定
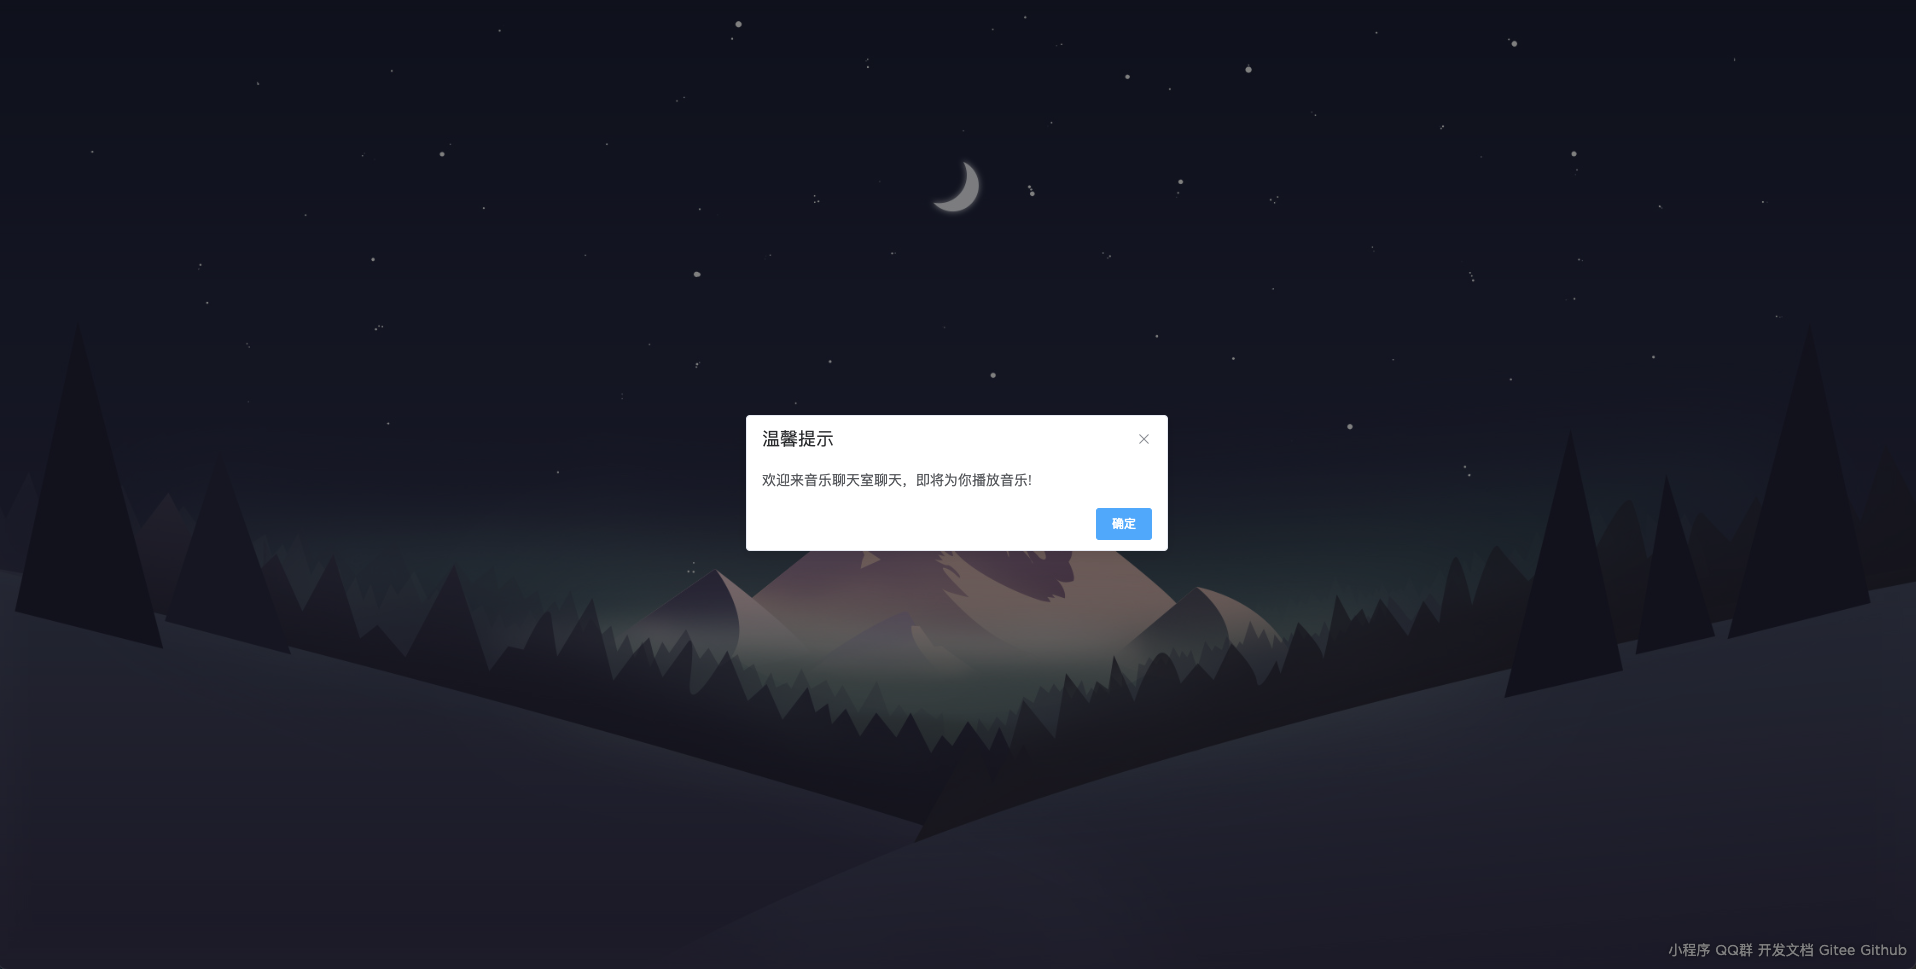
浏览器查看一下
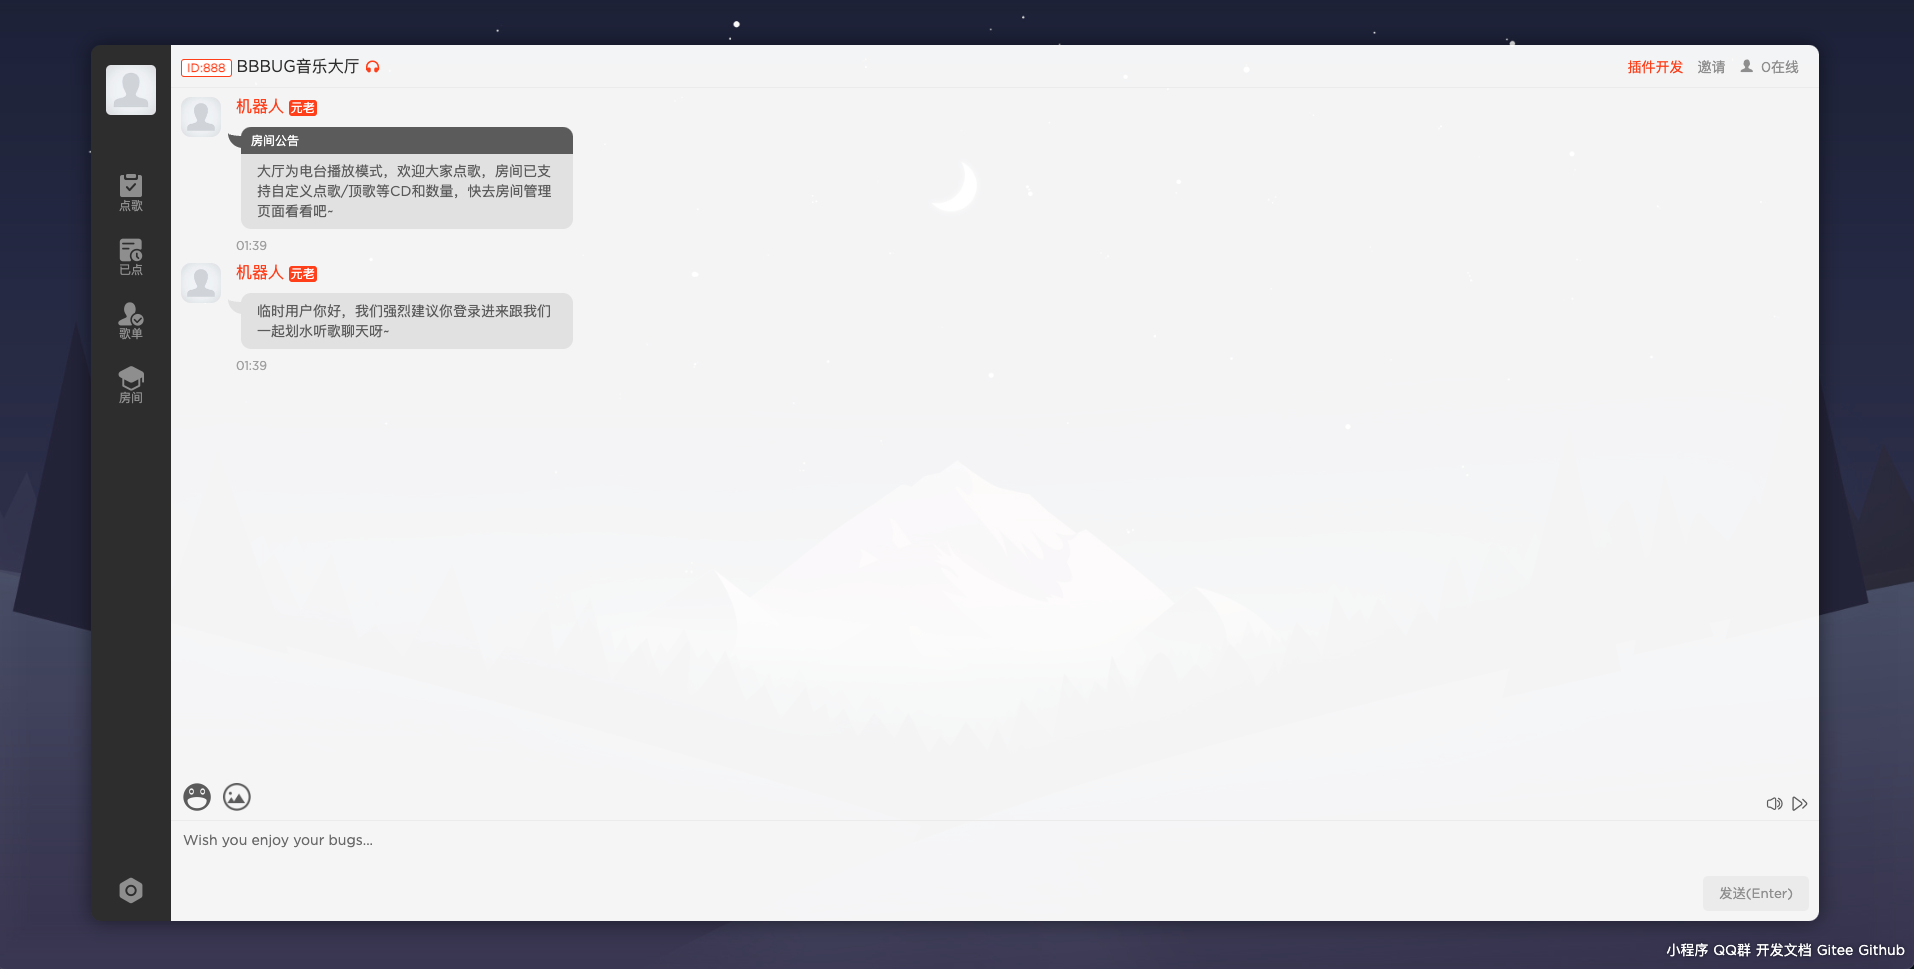
登录一下

登录成功!
websocket
docker exec -it php bash
cd /var/www/html/api
npm add nodejs-websocket
vim websocket_bbbug_chat.js
# 修改一下端口,这里又是我蠢了,一开始我居然是预留了9001作为websocket的端口,和项目的不一样,失策失策。

运行websocket
node websocket_bbbug_chat.js
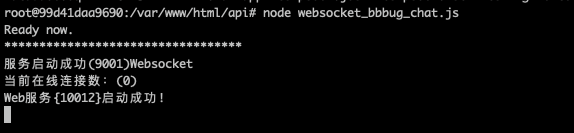
找个websocket在线网站测试一下, OK的!
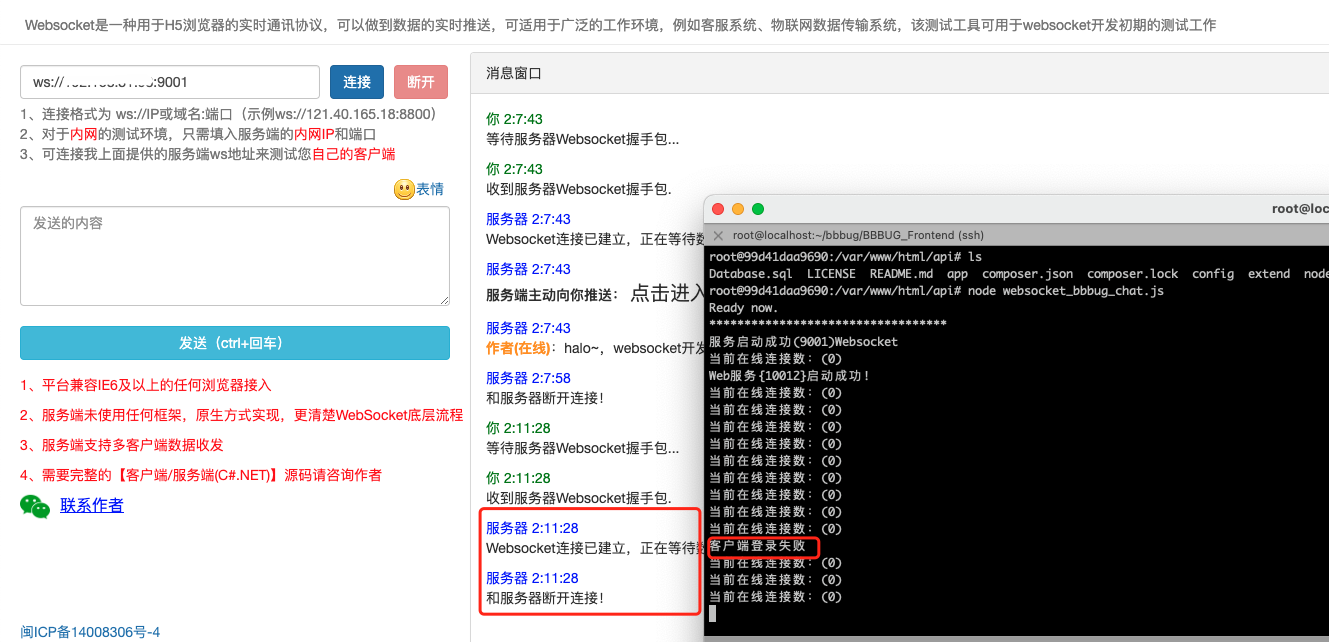
项目跑一边, 呃呃。。。服了
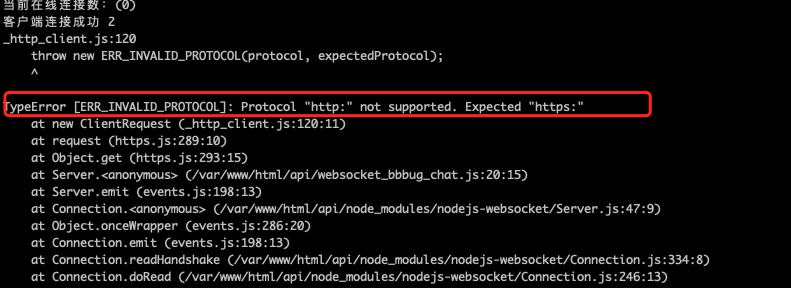
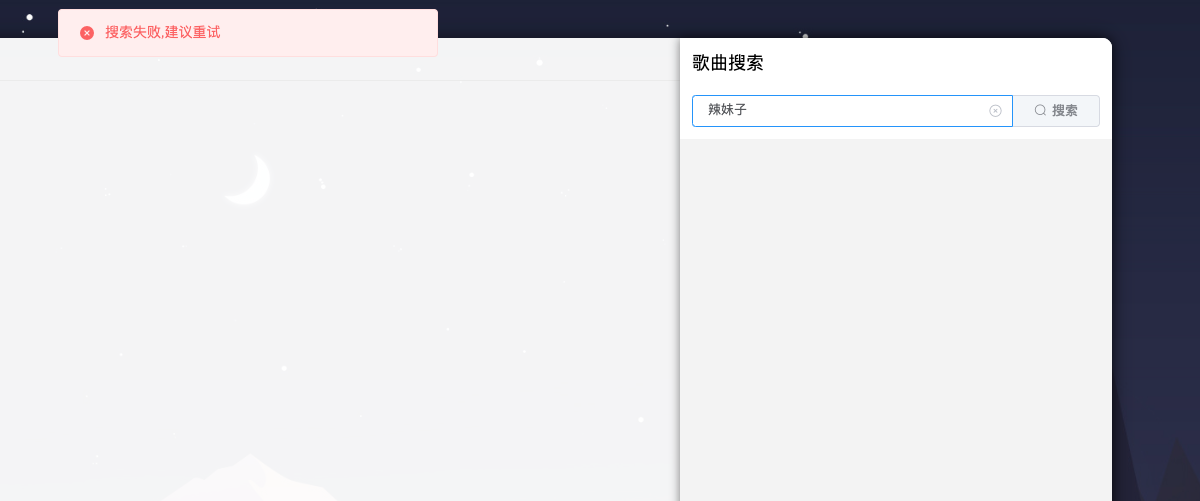
歌曲同步
接下来回到BBBUG_API目录中,启动两个命令:
php think Song
php think Download
我们推荐用Supervisord守护一下这两个进程,避免频繁挂掉。
这一步我做了,但是好像不对,两个服务我都启动了,但是搜索依旧失败
总结
我是用来练习docker link的, 目前不建议部署,耗费心血啊!!!
头都秃了。部分问题,我实在搞不清楚了,我也不会php啊,所以就这样吧